Master Bathroom - Where we Shop

Thank you to all of our readers that have sent in questions wondering…WHERE DO YOU SHOP? This is a series of posts listing many of the purchases broken up by room. We started with the master bedroom and now we’re moving next door to the master bathroom.

At the bottom of the post are images of some of the items you see in the pictures. Just click on the image to learn more about each product. We hope our design ideas inspire your purchases. Happy Shopping!

Similar products are listed if products are no longer available. See disclaimer for information about affiliate links.

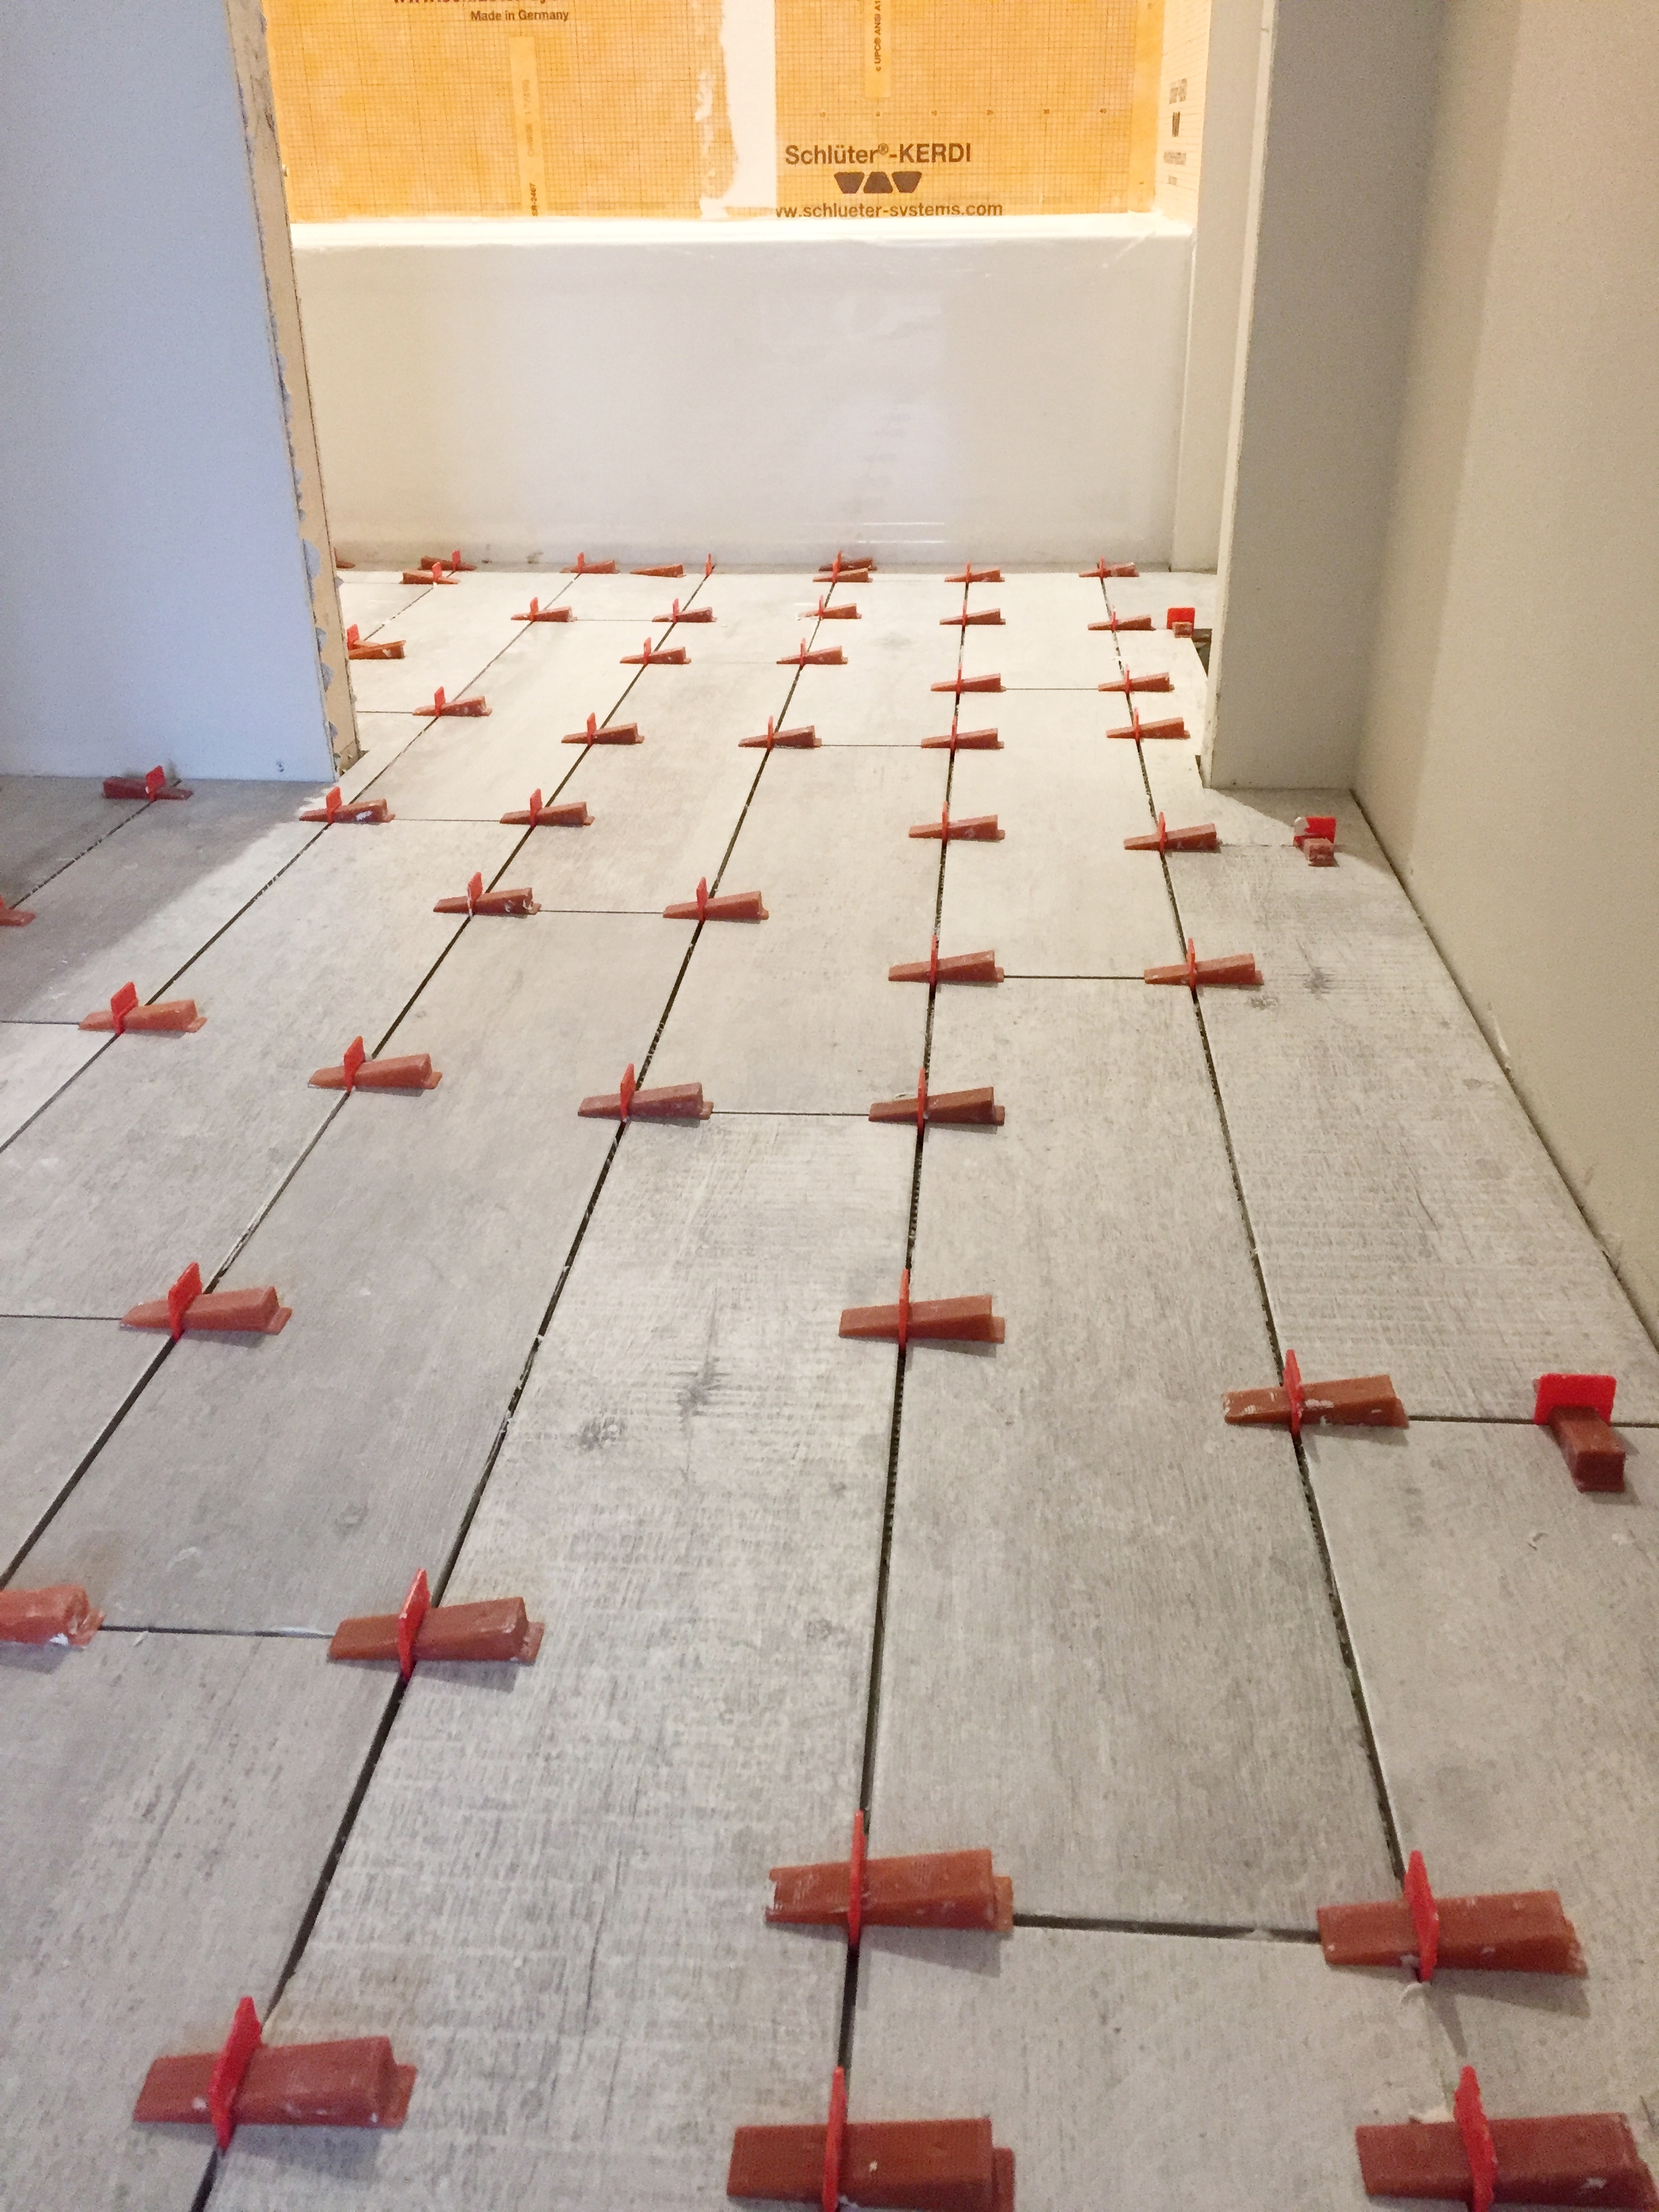
The most frequent question I get is, where did you buy your mirrors from? Here’s the link. The round shape softens things up and the black metal frame adds a nice modern touch. The vanity was custom made out of hickory wood and was stained to match the wood floor in our master bedroom. The engineered quartz countertop is a pattern called Torquay by Cambria. The floor tile is porcelain and the wall tile is marble in a hexagon shape. Both tiles were provided by H&R Carpets & Flooring. The light fixtures are another one of my favorites and can be found here. The faucet is beautiful, but it was chosen MOSTLY for functional reasons. We like that is is a single handle and we LOVE that it has touch technology. This makes our routine more efficient and keeps water drips to a minimum on the countertop.

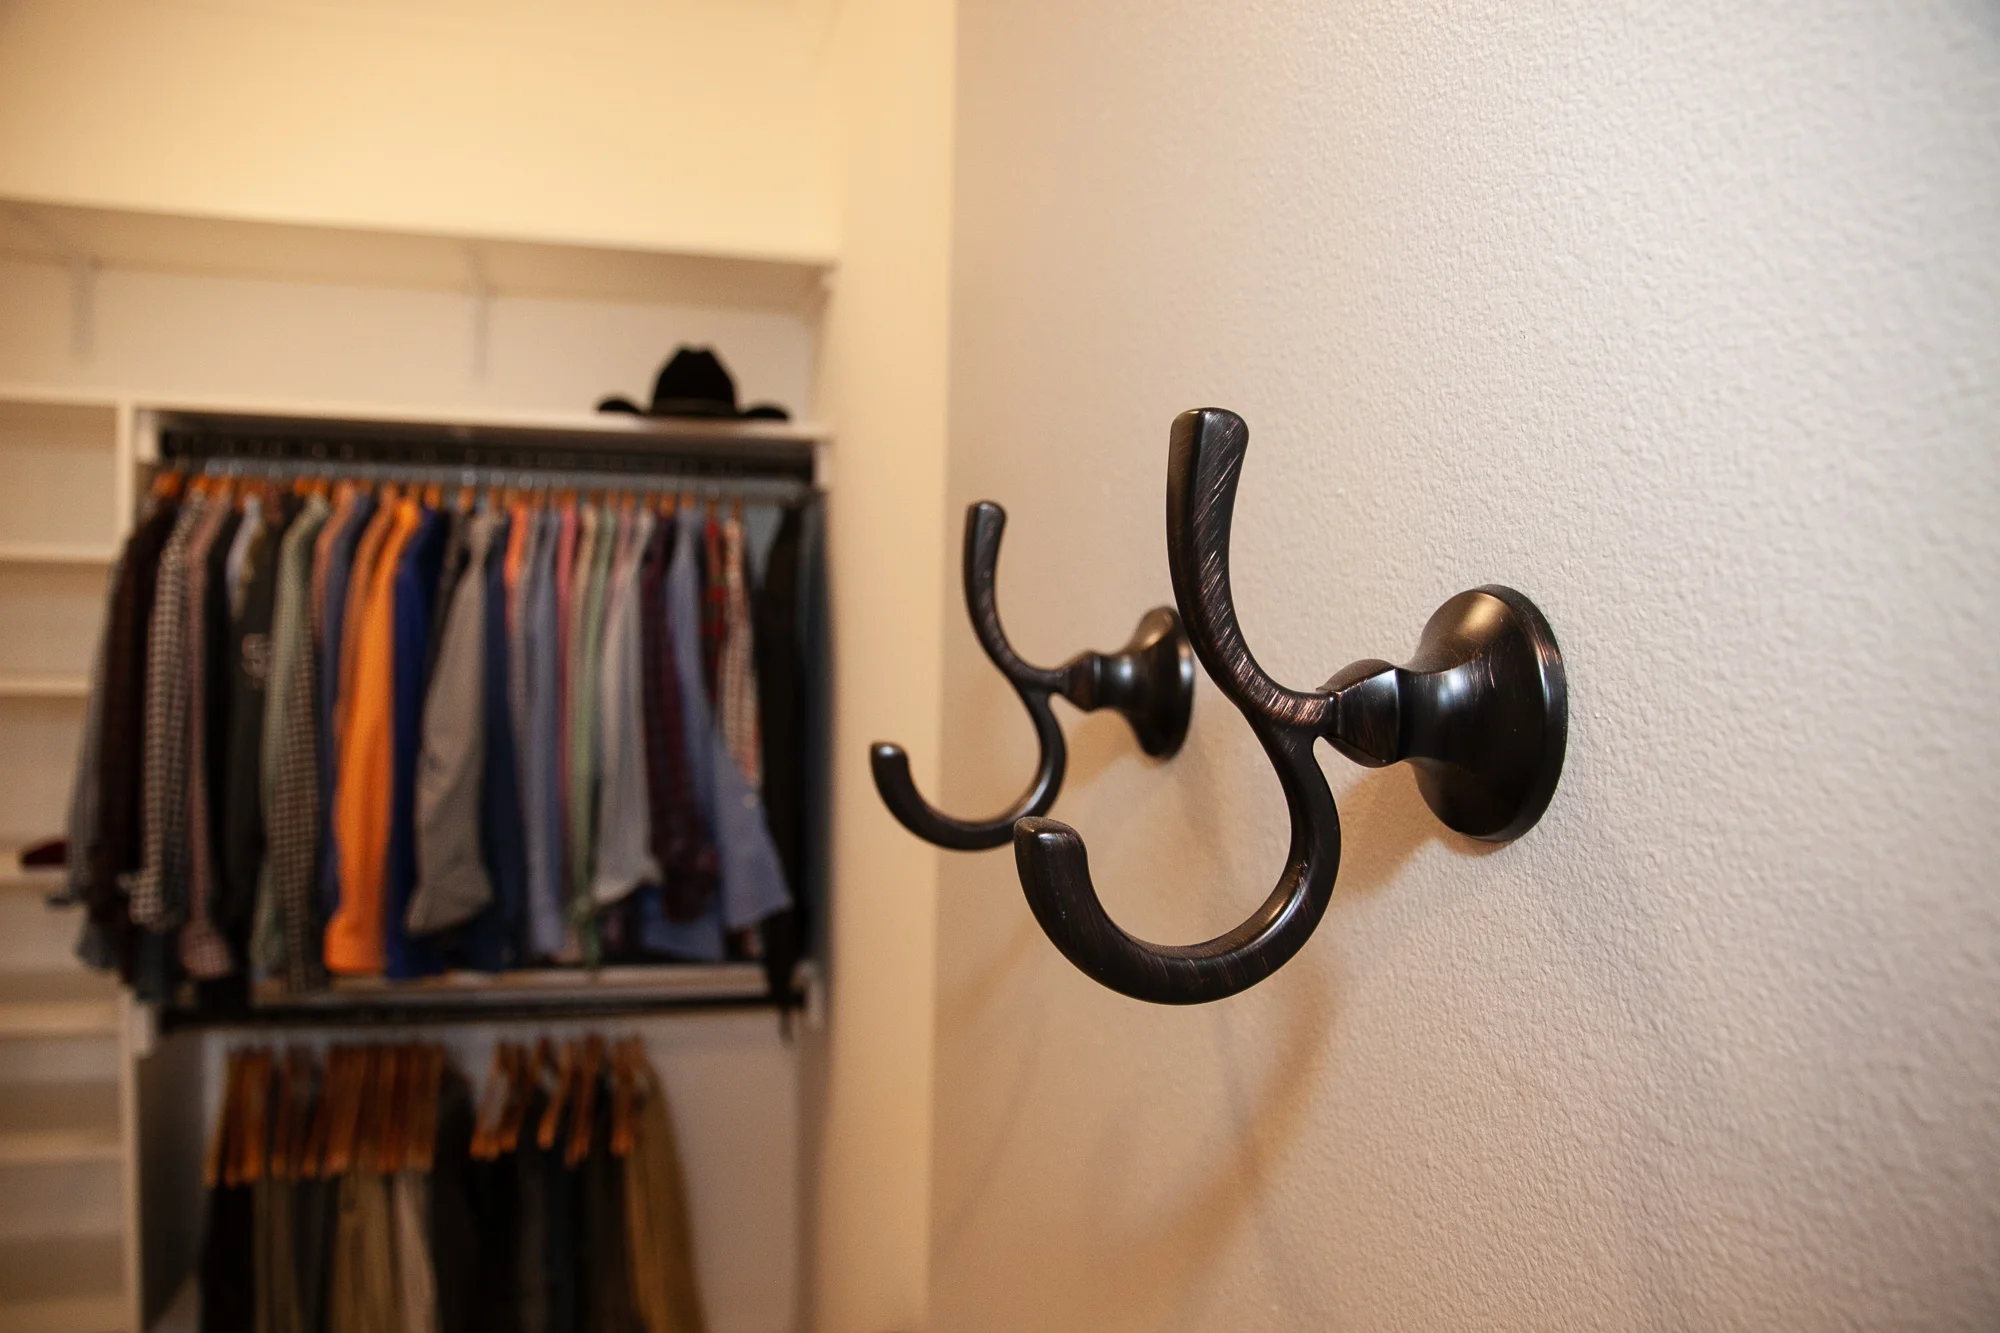
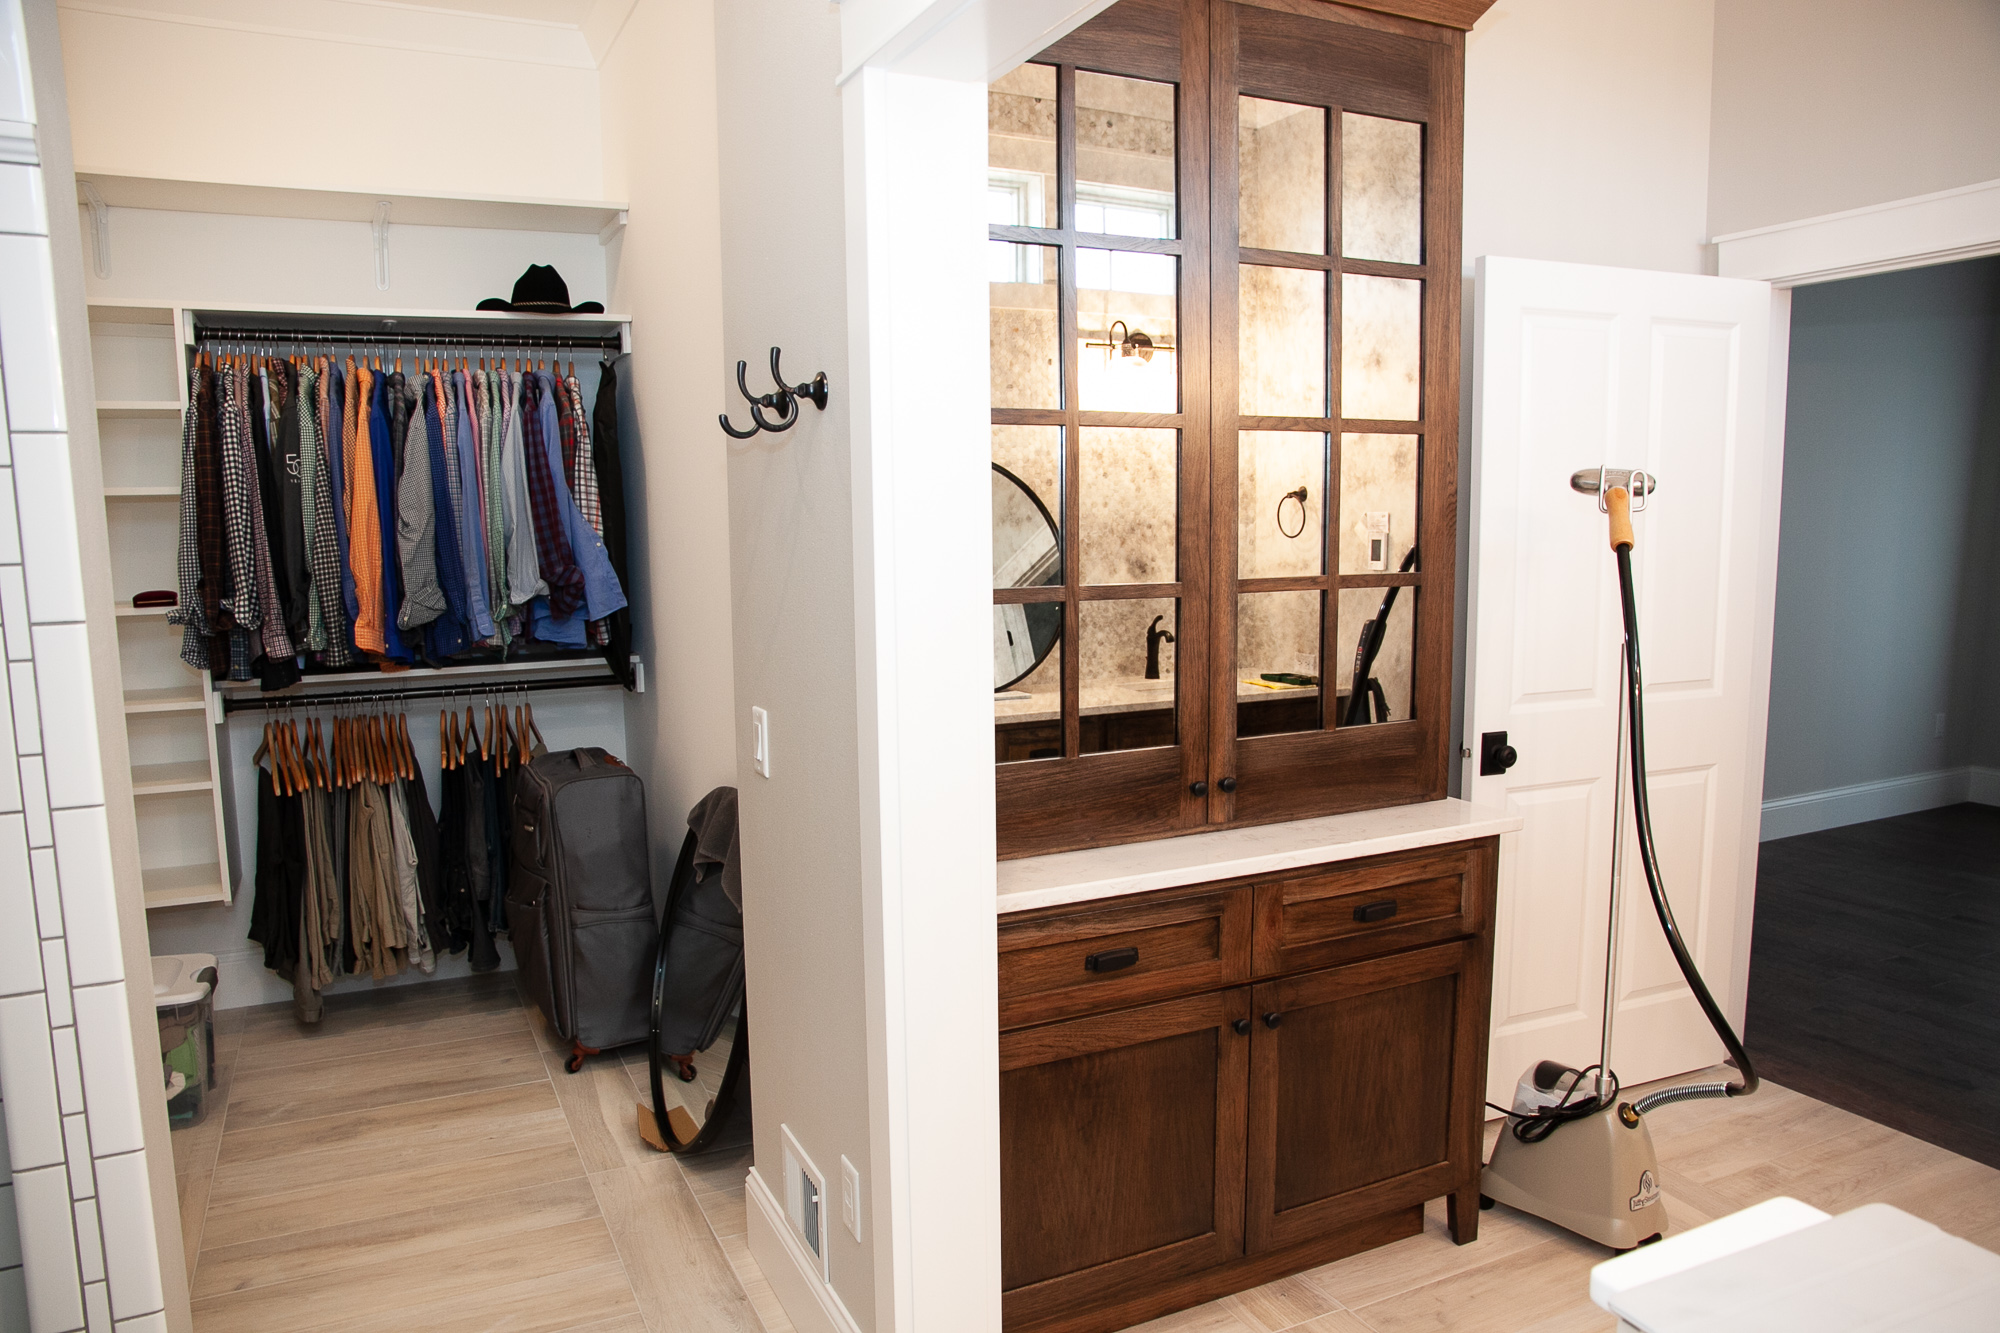
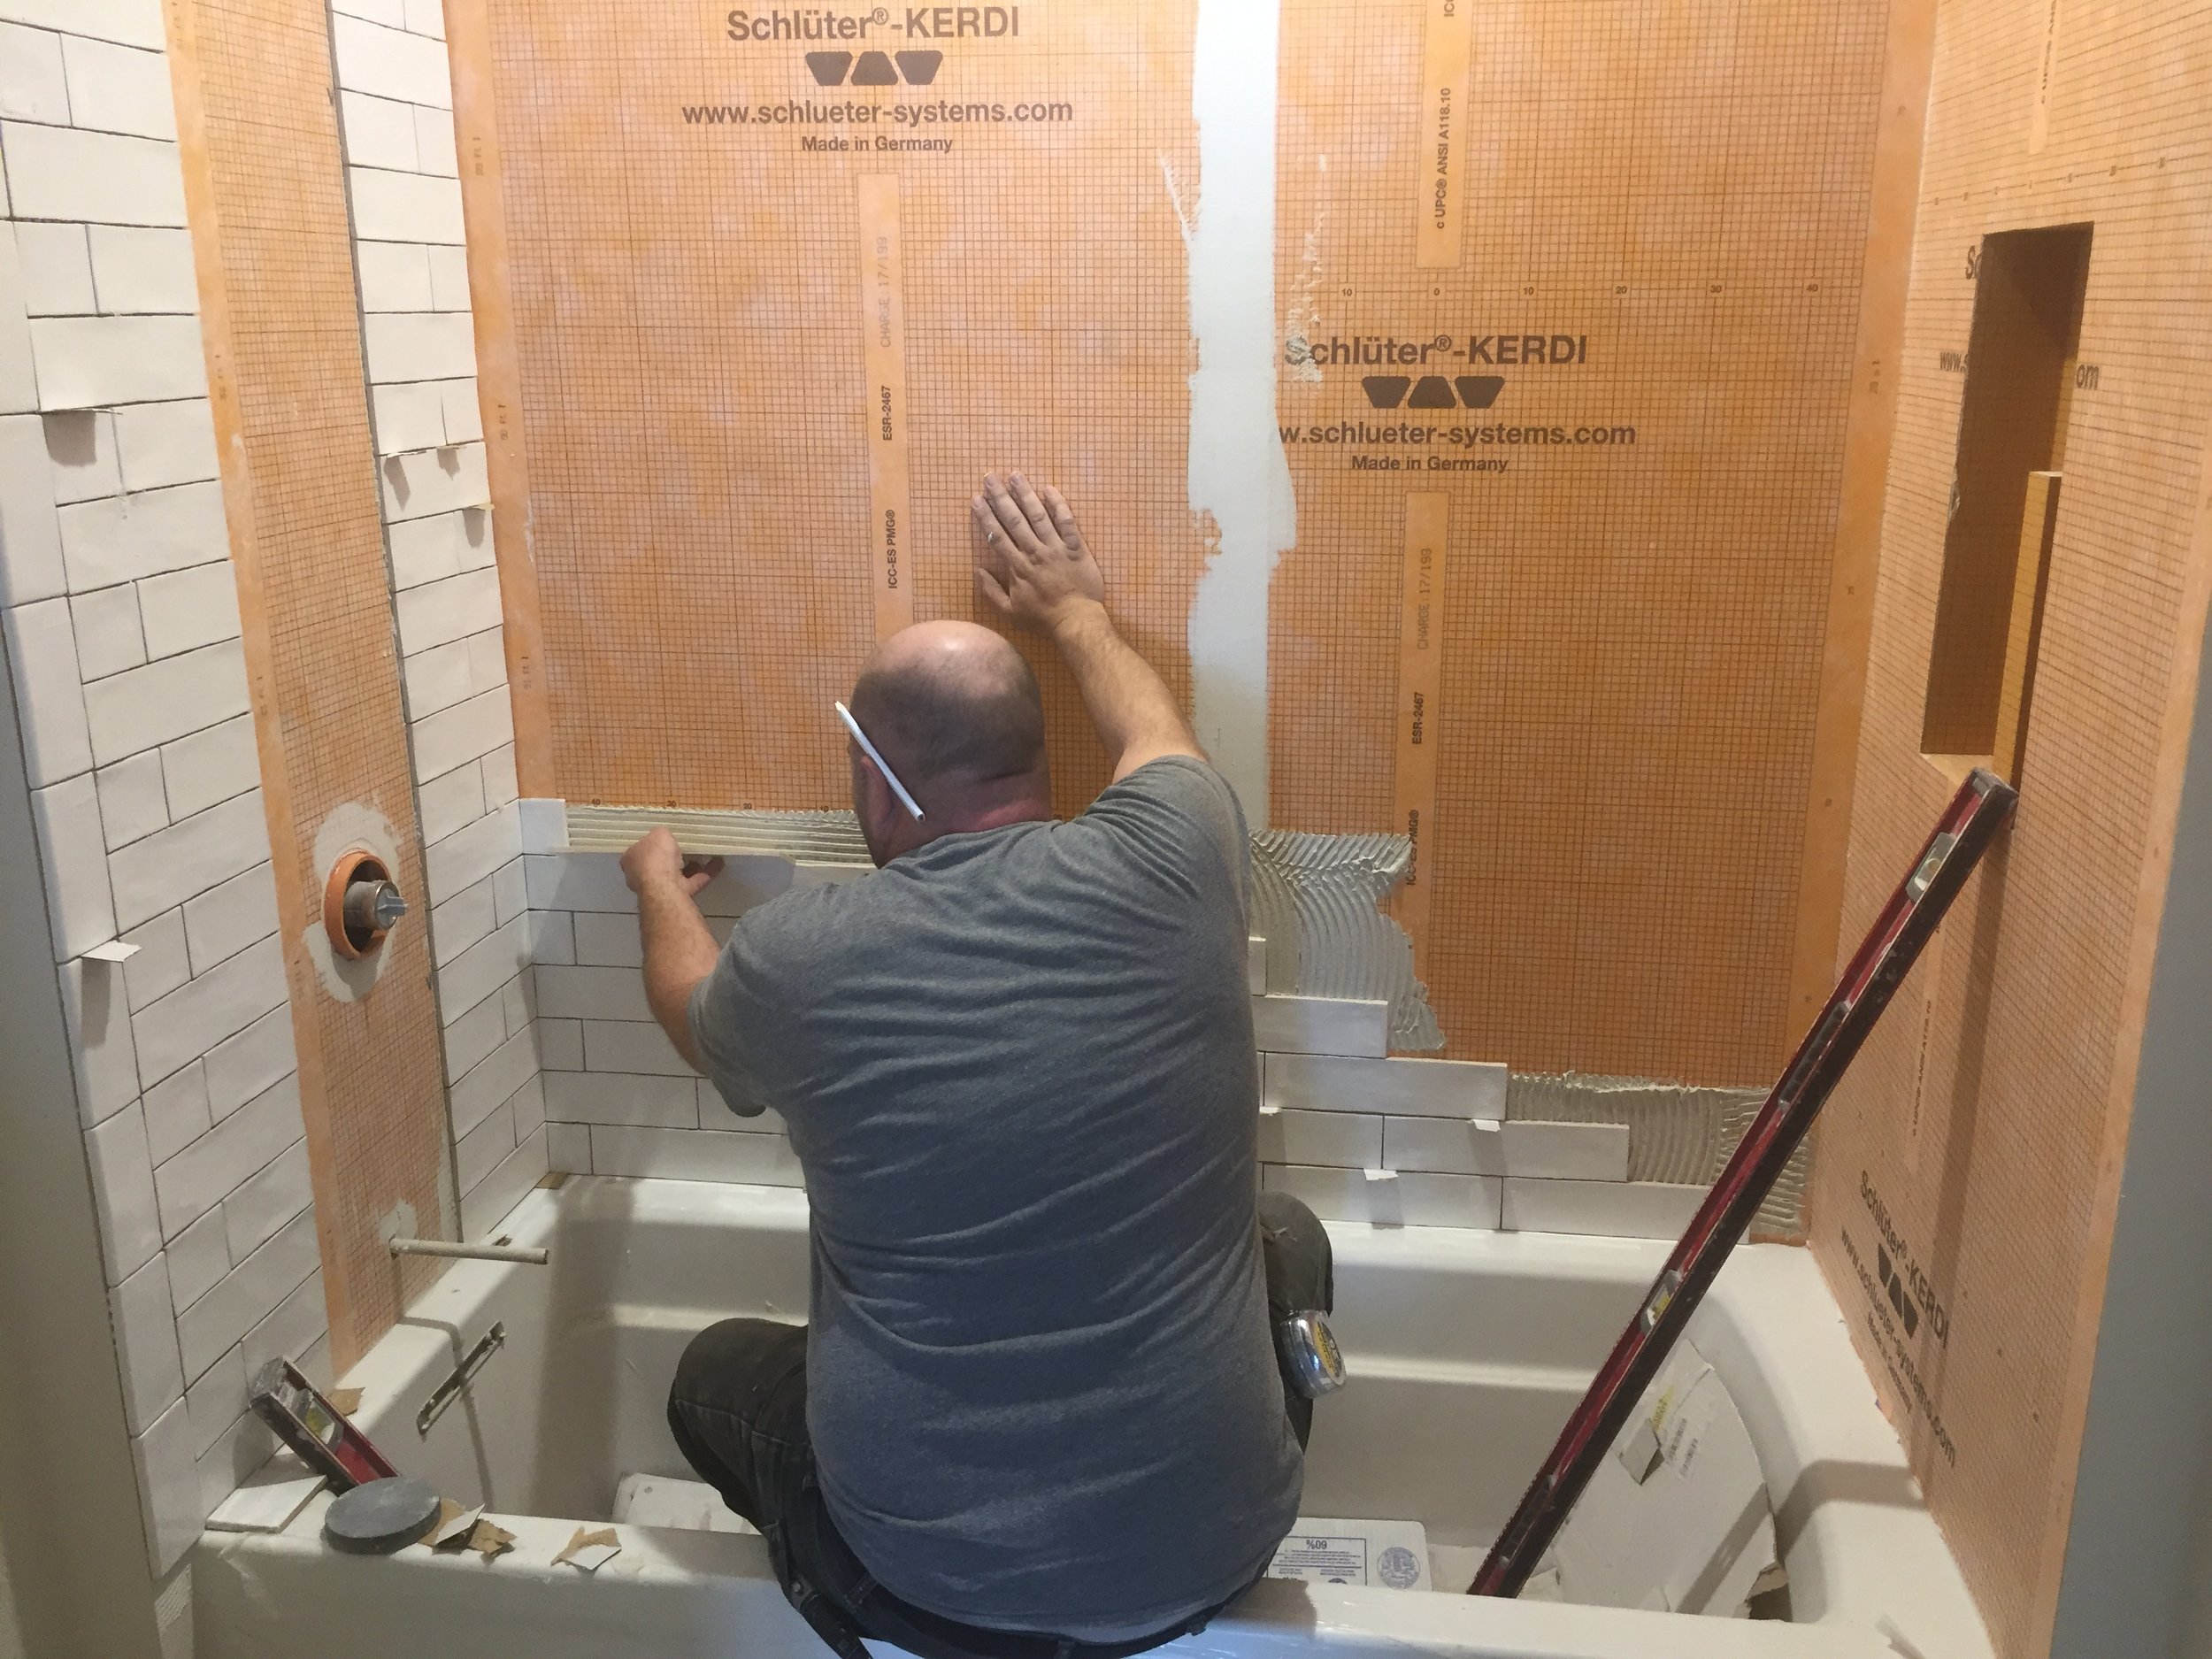
This built-in cabinet has loads of storage for linens, lotions, and potions. The cup pulls on the drawers are a reference to the farmhouse style we enjoy, but have low contrast with the stain on the cabinet for a subtle effect. We ordered the upper cabinet doors without the glass. The cabinet maker prepped them and the glass was antiqued and installed by a local glass company. The knobs on our interior doors can be found here. Also, not pictured is our custom tile shower by H&R Carpets & Flooring. Instead of adding a built-in bench, we chose to include a piece of furniture so that we had flexibility in how it gets used. For now, it’s used as a towel holder on the far end of the shower. The color is almost a perfect match to the tile in the floor.


Moving Day!

Whew... moving is hard work! We're getting more settled as the days go by and LOVING our new digs!

Construction-Line.png

Construction is behind schedule so the contractors worked hard to get us a temporary occupancy permit. We sold our previous home and we needed to move! There is still some interior work to be done and lots of exterior work to be done. We appreciate not having to move to a temporary home though.

Here's a gallery of pictures taken by Liz Schaefer just as we're starting to move our things in.

A special thank you to all of our heavy lifters and packers - you guys rocked! 

We can't wait to share more pictures of our home after each room is completed. Our daughter settled right into the art room. It has one of the best views in the home!

#17 Tile Progress

For the past two weeks, the finish carpenter, painter, and flooring installers have been hard at work adding the interior finishes we've selected. It is really satisfying to see the finishes installed. The flooring is near and dear to our hearts so we'd love to share some information about the installation products and techniques.

Even if reading about tile installation technique is not your jam, we hope to convey the layered and detailed nature of tile installation. These installers are true professionals and we're so proud of their work!

2018 2 28 (2).JPG

To keep our toes warm in the bathroom, we're installing the Schluter Ditra Heat for both bathroom floors. Here is a picture of the Ditra Heat Mat installation. The orange mat has to be mortared down to the 3/4" subfloor using a polymer modified mortar.

2018 2 28 (3).JPG

Making sure to get good adherence is important so the installers roll it with 100lb roller and then go along the edges with a grout float to make sure it is securely in the mortar.

Floor Progress (3).JPG

One of the cool things about the Schluter Ditra Heat system is that the resistance wire (aka: heat source) clips right into the mat. Even cooler is that the spacing is set by the mat making it easy peasy to space properly. Three rows apart just like the picture. The cable gets tested before and after installation to make sure that it is still in top shape and wasn't damaged during the installation process.

Floor Progress (4).JPG

Because we weren't immediately installing the tile, the installers back buttered the entire floor with mortar to protect the cable and make it easier to snap lines for the actual tile installation. This is the blank canvas for the installer to plan out the tile pattern.

h&r carpets tile installation.JPG

This picture shows a very important tool our tile installers use. Believe it or not, tile is not flat and is not always square either. These orange wedges and clips are a tile leveling system by Raimondi Industries. This system helps make installations as perfect as possible by maintaining spacing between tiles and bending the tiles to make the floor as flat as possible. Extremely cool technology that has been developed to accommodate installations with plank and large format tiles.

Main Bath Tile Floor Home in the Heartland.JPG

After the mortar dries, the wedges are broken off which breaks the clip at the bottom of the tile and leaves a perfect line for grouting.

home in the heartland h&r carpets tile selection.JPG

This is the wall tile we selected for around the tub. It is called Artigiano from Dal Tile. It's an extremely beautiful tile that can be used on walls. Notice the jagged edge giving the appearance of a handmade fire kilned tile. The tile surface is not flat which adds some additional interest.

Before installation the installer met with us to discuss the tile spacing. He pointed out that because of the irregularity, you can stack these tiles on top of each other.

h&r carpets tile installer.JPG

The tile installer also pointed out that the bullnose (piece on the end with a rounded edge) could line up with two rows of tile if stacked on top of each other. We like things to line up whenever possible. We very much appreciated his input!

Notice on the walls behind our installer is more orange product from Schluter. That product is Kerdi and it is designed to water proof the wall so that no water ever penetrates the tub surround. We are using it in our custom shower as well. The Kerdi system by Schluter provides niches like the one on the right wall to hold shampoo and soap. It also offers benches and other products that you would want in water proof in a custom shower.

home in the heartland tile wall.JPG

Oh my, do we LOVE this tile! Even surrounded by the in-progress mess - it shines bright! Go to our Shop Our House page to learn more about the products we're using in this bathroom and check back to see more progress.

#14 Bathroom Dilemma - How Many?

As we were laying out our floor plan and looking at our wants and needs we had to ask ourselves these questions. How many baths should we include on our main level? What is typical? What is needed? What is preferred?

The current trend in residential construction for homes our size is to have a minimum of:

  1. A full master bath

  2. A full main bath

  3. A powder room

In the house we're currently living in, we have 1 full bath and 1 tiny powder room (seriously, it’s small!). We've been living here for 17 years. For us, adding another full bath is going to be pure luxury. We’re SO looking forward to the efficiency that will come with having an additional shower in the house.

With that said, we decided that the second full bath on the main floor will also be used by guests. No powder room on the main floor for this family. This change will allow us to use that square footage in better ways, as well as spend a little bit more on both bathrooms with some upgraded fixtures and tile. 

The practicality discussion is over (you know we like to be practical) - now on to the fun stuff!

Let’s start with a little architectural inspiration from Houzz. The use of a half wall, or pony wall, to separate the vanity and stool is a common feature in bathrooms. It hides the stool and puts the focus on the prettier things like the vanity, light, mirror, countertop, and faucet.

 
Source: Houzz and Fluidesign Studio

Source: Houzz and Fluidesign Studio


The design in this photo from Fluidesign Studio takes that half wall a step further with a cased opening up and around the half wall. Since we have a planned ceiling height of 9’ in the bathroom, this feature will work for our house! We’re excited for the architectural detail this will add to the room. In fact, we like it so much, we decided to add it in the master bathroom, too.

On to the tile, lighting, vanity, and wallpaper. While the accent tile has an iridescent quality to it and the rug is a fun modern pattern, the majority of the materials we selected are neutral and classic. A chrome finish on the light, faucet, and cabinet pulls will unify the different elements and add a little sparkle.

1-AS-main-bath.jpg

You may have noticed that I said wallpaper. (Gasp!) It's not the wall treatment dujour, but it can add so much interest to a room. One tiny, itty bitty wall in the main bathroom is going to receive the wallpaper treatment.


Idea-Tip.png

ProTip  Wallpaper adds pattern and texture to a room. This can be done very subtly with a woven natural wallpaper like grasscloth, or boldly with a high contrast print. Luckily, these stylish, modern wallpapers are far easier to remove than the ones of our childhood, too. Below are 4 different examples.


After an extensive search for the perfect paper, we landed on two options.

OPTION 1

1 AS main bath and hall.jpg

A subtle herringbone pattern with neutral colors by Serena and Lily.


OPTION 2

1 AS house main bath paper 2 .jpg

A wallpaper by York with a really interesting metallic sparkle to it. The pattern is also very geometric and modern. While we really like both, we decided on option one. We feel that this pattern is a better fit for the main bath.

While the countertop and floor are mainly grey, the wallpaper, paint color, and accent tile work together to add the warmth of a bone or beige color. With our bend towards neutral design, pattern and texture create additional elements to appeal to the senses - making the space classic, not boring. We love what the accent tile, rug, and wallpaper bring to the space.


Idea-Tip.png

ProTip  Speaking of neutrals, while grey still has a strong presence in current design trends, adding some warmth to balance the grey is a beautiful combination. Design lingo for a "warm" grey or a mix of beige and grey is often called greige.


 Visit our Shop our House page for more links to the items we have selected!

 
Construction-Line.png
 

With our cold Wisconsin winter, there have been a few changes to our schedule. Fortunately, our building team has been able to keep things on track. Estimated completion is planned for early May.

A view of the kitchen and pantry walls

A view of the kitchen and pantry walls

One step closer to a finished space

One step closer to a finished space

We're still making frequent stops at our house to check on progress and work out details. Our priority is to get all of our selections made and orders placed. It's been a busy and stressful time but also very exciting!

#11 Master Bathroom Layout

Like for most homes, the bathroom in our home needs to be a high-functioning room. It's where we typically begin and end our day. And I don't know about you, but our experience there can really set the tone for an efficient start to our day or a relaxing end.

While we LOVE designing for luxury, like most things in our home, we kept our master bathroom pretty simple and practical.

One thing we didn't want to miss out on is natural light. Initially, we put a window between the mirrors above the vanity and also a window above the stool (designer speak for toilet or commode).

ElevationPair-1.gif

After thinking through the placement of the latter window, we realized it would need blinds to provide a comfortable level of privacy. As a result, we decided to change the plan and raise both windows so that they would provide the natural light we desired at the height that doesn't require a blind.

ElevationPair-2.gif

The raised windows offers the function we need on the interior, however, the adjustment makes the exterior less attractive.

Idea-Tip.png

Landscaping can balance the look of the exterior allowing for raised windows and an attractive exterior elevation!

A sketch showing the raised windows

A sketch showing the raised windows

We're looking forward to having the open windows and natural light greet us in the morning as we begin our day!

MB+bathroom+materials.jpg

Here's a sneak peak at some of the materials and fixtures we're considering for the master bathroom. Make sure to follow us on Instagram for more color and material selections.